The Cut and Fold Technique

The Cut and Fold Technique

The Cut and Fold Technique using Honeycomb Sandwich Panels

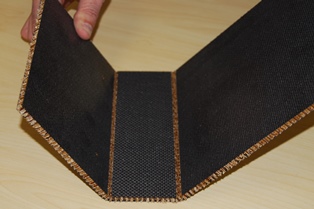
Honeycomb sandwich panels can be constructed to form complex shapes and angles by following the “cut and fold” technique.

With the “cut and fold” technique, a section of skin is cut away from one side of the honeycomb panel, allowing the panel to be manipulated to create specific angels and a desired structure. A panel that has a woven finished skin is recommended for this technique, as the plain woven outer skin allows the skin to bend with ease.

This method requires minimal use of jigs and fixtures and is a simple, economical solution to creating a strong singular component.

Determining the width of section to remove?

Before cutting the section away from the panel, determine the width of the strip with this calculation. X=Width of the strip to be removed, T= Thickness of the panel, Q°= The degree of angle

X = 2π x T x Q°

          360

Example: You have a 1/2” panel and a 90° angle is required.

2π x 1/2″ x 90°               6.28  x .5 x 90                282.60 

     360                              360                      360

The strip to be removed would be around .785” wide (.750 would work). It is recommended to create a test fold with the calculation and make adjustments as needed.


PROCEDURE

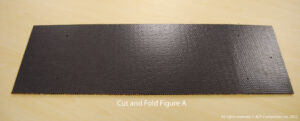
  • Determine the shape and size of the structure. We recommend a honeycomb panel that has a woven skin. (Figure A)
  • With the above calculation, calculate the width of the strips to be removed.
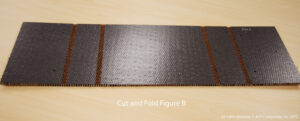
  • Using a Dremel tool or a router, cut the strips of skin on only one side of the panel.
  • Remove the cut skins from the honeycomb core. Leave the honeycomb core intact as it will act as a binder for the adhesive. (Figure B)
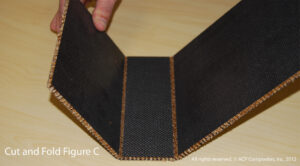
  • After removing the strips, check to make sure the structure folds together as planned. (Figure C)​
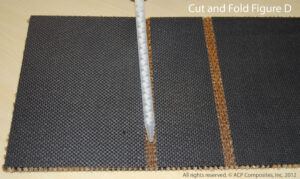
  • Then, apply a 2 part adhesive to the exposed core. (Figure D)
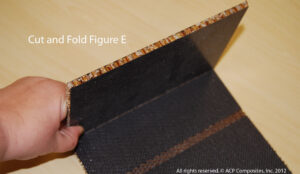
  • Bend the ends together to get the desired angle and clamp to prevent the panel from adjusting. (Figure E)
  • Repeat above steps for the remaining angles. Some structures may require additional angels to be bonded at different times, depending on the fixtures available
  • Allow the adhesive to cure completely. If a gap is present, fill the gap with the 2 part adhesive. Optional: After filling the gap, do a wet layup over the gap using carbon fiber, fiberglass, or Kevlar® reinforcement tape.
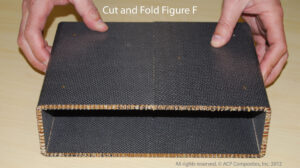
  • Additional finishing or joining work may be required. In (Figure F) the two ends were joined together to create a box.

KEVLAR® are registered trademarks or trademarks of E.I. du Pont de Nemours and Company and are used with permission.

Related Posts